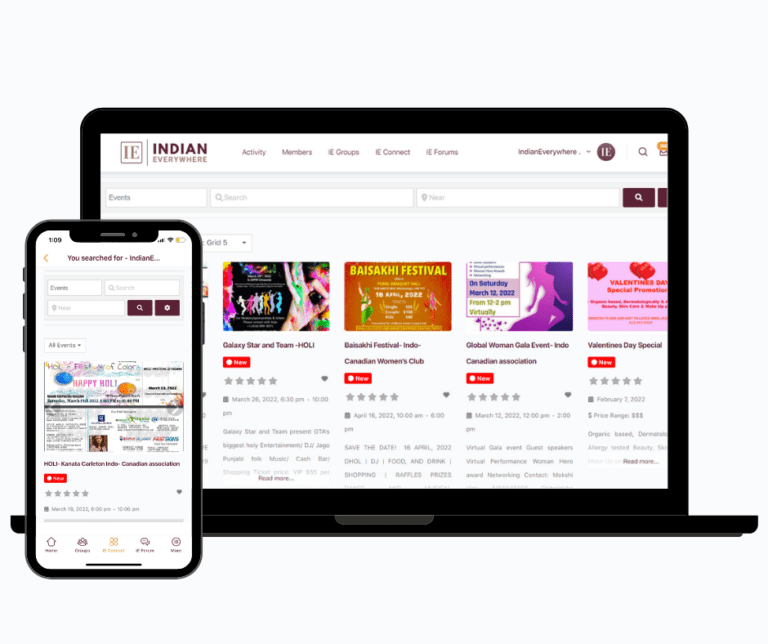
A 3 hours of not-stop Hilarious Gujarati Comedy Drama – presented by Swar Sadhana productions. Written by Kaajal Oza Vaidya & Directed by Akhil Pandya Read more...
How To Add An Event?
Step 1: Accessing IndianEverywhere
- Log in/ Sign up to your account on the IndianEverywhere.
- Navigate to the “IE Event” page.
- Click on “List your event” button.
Step 2: Basic Event Information
Enter the basic details of your event and “Submit Listing”
- Event name, Date and time, Location.
- Description or brief overview of the event
- Social accounts.
Step 3: Navigate your event
You can navigate your submitted event by:
- “IE Event” page through side panel.
- Or your Profile> Listings> Events> Find the event.
- Navigate “Sell Tickets: button.
Step 4: Creating the Tickets
- Click on ” Sell Tickets” button
- Add Ticket Name, Ticket Price, Available Quantity
- Selected by default
- A button to add more Tickets
- Click on “Save Tickets” button
Step 5: Managing the Tickets
After creating the 1st Ticket and saving, the “Sell Ticket” button for that event will be replaced by 2 buttons: Buy Tickets (Visible to everyone) and Ticket Management (Visible only to the Event listing owner)
- Click on “Ticket Management button”
- You can Add new tickets, edit/ delete existing tickets
Step 6: Sales and Reports
Click on “Ticket Management” button:
- Go to the “Sales” tab
- Here you can check the list of the buyers, fees, earning etc.
- You can also resend the tickets to the buys.
- Go to “Reports tab” to check basic insights on graphs
Step 7: Buying Tickets
Clicking on the Buy Tickets button, users are presented with an overlay window with the Ticket Checkout form.
Here users can select the ticket type (if more than one), set the number of tickets required, add their details, and payment methods.
Step 8: Payment, invoice and Tickets
After paying, they will be presented with the payment confirmation page where users can:
- View the Invoice
- See their invoice history
- Download the Tickets
Step 9: Scan QR code to verify Tickets validity
Event owner can scan the QR codes present in the buys tickets
- Ticket Not Valid: The ticket is not for this event [Text highlighted in RED]
- Ticket Valid for (Future Date): The ticket is valid, but it is not for today [Text highlighted in YELLOW]
- Valid: The ticket is for today’s event and it is valid [Text highlighted in GREEN]
- This ticket was used X time ago: The ticket has been already used. [Text highlighted in YELLOW]
- Expired Ticket: The ticket is for a past event. [Text highlighted in RED]
When a Ticket is Valid, a redeem button will appear and the Ticket status can be marked as Used.


